Project 1: Photo Montage - Final
CHECK LIST
-
- Size 8"x10"
- 300 dpi
- Color Mode: CMYK or Grayscale w Duotones or combination of these
- Use of color to convey message
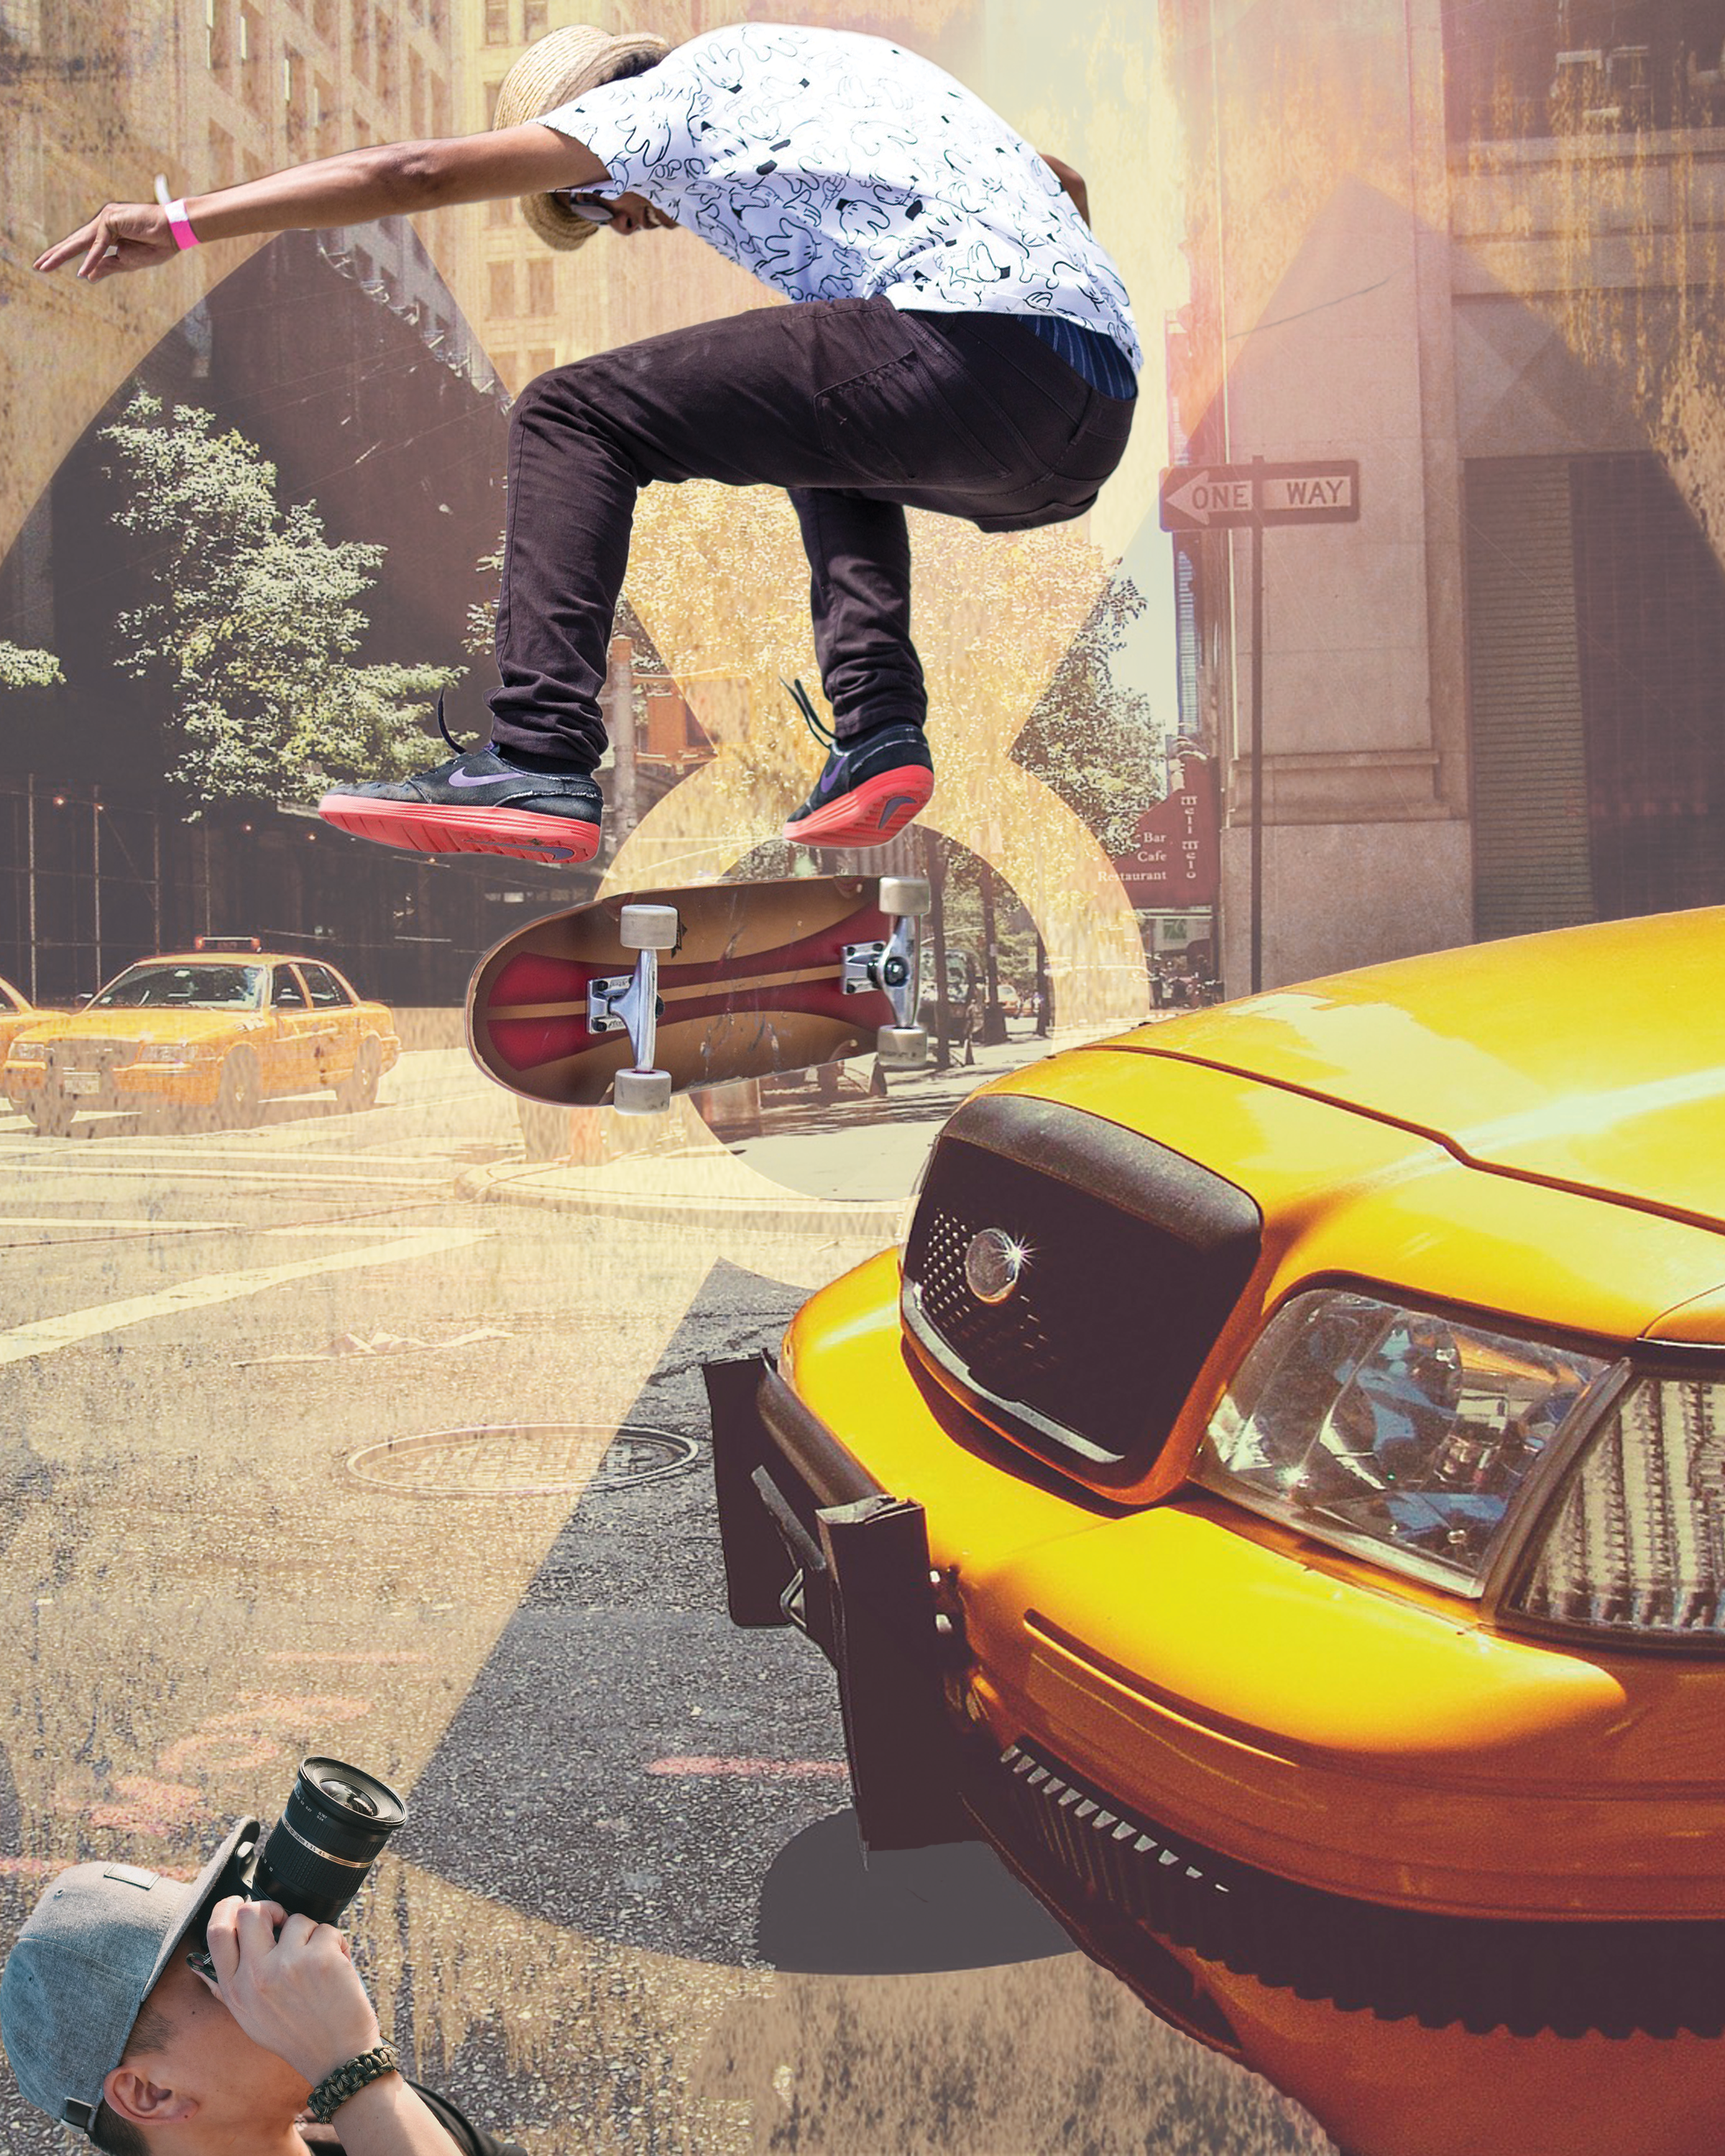
- Images appear as one fluid image or feel connected as an artistic work
- Principles of Design followed:
- Emphasis - focal point using lines, contrast, or color to direct the viewer's eye
- Balance - symmetrical, asymmetrical, or radial
- The image represents your idea
- Someone other than myself has seen this image and has shown an understanding of the message
SUBMISSION
- Name your file: YourLastName-Proj1.PSD
- Flatten the Image in Photoshop (make sure to keep a .psd file with the layers intact for your files)
- Zip the .PSD file
- Submit to Canvas.
Exercise 6
Exercise 5: Composite Portrait
PURPOSE
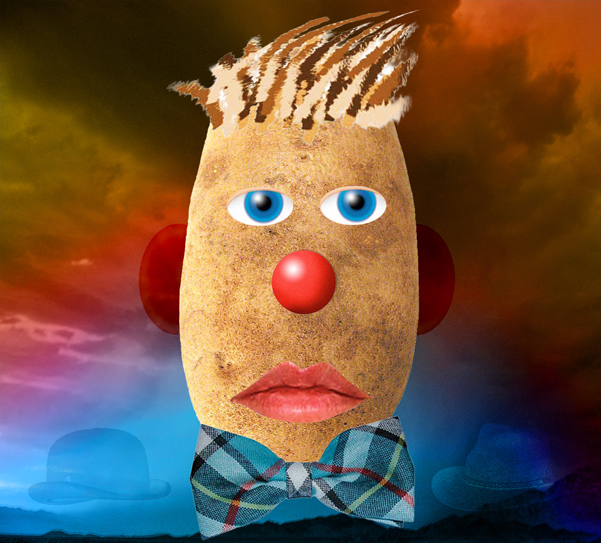
In this assignment, you will create a portrait. This portrait should include head and shoulders only. All work will be completed using Photoshop. Each portrait must present a unified concept, for example, a specific mood or personality or subject.
BRIEF:
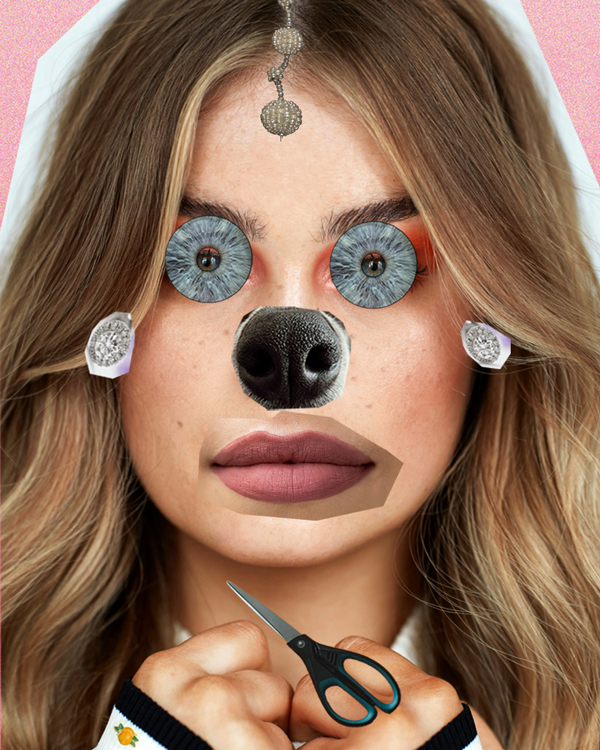
You have been asked to prepare a portrait style illustration to accompany an online article on "Personality" for Psychology Today. Your client has specifically requested that the various facial features in the portrait look “cutout” as if clipped out with a large pair of scissors. Additionally, the client will consider some indication of torn edges if you so choose.
DIRECTIONS
- Setup a working folder named with 'your last name'. Inside the folder, create another folder named 'Images'.
- Create a new Photoshop document.
- 8 x 10 inches
- with a resolution of 150 ppi
- color Mode RGB
- final Layers retained
- Name and save this file as 'yourlastname-Ex5.psd', and save it into the main folder you created above.
- Search Photo Resources or Public Domain Photo Resources for photographs that will help you build a face.
- Use an assortment of keywords to search. Ex.: face, eyes, mouth, portrait, and more.
- Search only photographic images and not illustrations.
- Also, search for an image to serve as the background. This could be a texture, interior, or landscape, for example.
- Images should be copyright free and not contain any watermarks.
- Image resolution should be sufficient to create the final art for this exercise.
- Keep these images in your 'Images' folder.
- Style
- “Rough cut” some of the selections as if you were clipping with a large pair of scissors. (The polygon lasso tool will work best.)
- Or cut out the parts of the portrait in a slightly more refined way (as if cut with a pair of small scissors).
- Drag and drop OR copy and paste a number of selections into your Photoshop file.
- You may transform, duplicate or alter as needed.
- Search again for a minimum of 2 additional images to include in your portrait.
- Consider adding a hat, tie, necklace, collar, article of clothing or object in the hair or around the head.
- Multiple body elements may also be used.
SUBMISSION
- Reminder to name your file 'yourlastname-Ex5.psd'
- Keep layers intact.
- ZIP the psd file and submit here in Canvas
PURPOSE
A key ingredient in creating an ad or artwork is to use imagery that will produce an emotional reaction in your audience. When we feel connected to an image and one of our emotions is triggered, we tend to remember it because the image is now attached to a memory or opinion about a certain topic. If your audience feels strongly enough about the connection, they are more likely to make a purchase or take action which is the next step in reaching your target group.
In this project, you will use the words of a poem or speech or lyrics from a song as a launching point for creating an image with emotional impact and include some of those words as part of your art.
RESEARCH STEPS - you will create a Process Book (PB)
- Choose a poem, speech, or song with words that inspire you.
- Think about where you can find a Poem. Go beyond doing a search for the word 'poem'. Ex. poets.orgLinks to an external site.
- Where would you look for famous Speeches? Think of someone you admire then search "'Their Name' speeches"
- If you want to choose a Song, you likely have a favorite source where you to listen to music. Find the Lyrics to the song, so you can study them.
- Narrow the focus of your poem, speech, or song to some of the words or a single phrase that inspires imagery.
- Begin Research:
-
- Find a minimum of 5 examples of similar/inspirational designs for your project. These can be scanned (if from printed sources) or digitally captured (screen grab) for inclusion in the PB document. Include a URL or Information where the example came from with each design.
(Inspirational images may be from Google and Pinterest as they are just for inspiration and will not be used in your final project).
- Record your thoughts and words related to the creative beginnings of your project. (For example, if you selected a poem about a journey, you could list words familiar to your own experience in life: climbing a mountain, path not always clear, making big decisions, finding my stride...etc.)
- Thumbnails: These are 30-second drawings (by hand) that show your conversion of the research items into visual trials, moving toward a solution.
-
- The finished size will be 6"x10". Work at a smaller size but proportionally to create these thumbnails.
- Do at least 5 thumbnail sketches. You will need to scan these pages from your sketchbook for placement in the electronic document (PDF).
- Note: you will be using a phrase or single words from the poem/speech/lyrics as part of the composition.
- Color Studies:
-
- Explore different color combinations and record these in your Research document. (Example: You can make collections of Swatches in Photoshop, then take a screen grab, and paste it into your document.)
- Explore color for tone, mood, and focal point creation
- Collect Images
-
- Consider taking the photos yourself - OR - Use these links to Photo Resources, or Public Domain Photo Resources. Find high res images you want to use to convey your idea. (You may not use images found through Google or Pinterest as these images will be used in your final art project and need to be free of copyright.)
- Document where you acquired each image in your Process Book (include URLs or other source where you found the images)
- Use up to 8 images but no less than 3.
- Images don't need to be the same size. Use Design Principles to scale and use perspective appropriately.
- Text
-
- You will use a phrase or single words from the poem/speech/lyrics as part of your composition.
- Choose a typeface style that will fit the mood of your design.
- Use typographical knowledge and skill to achieve integration of the words with the images.
- Tip: Adobe fontsLinks to an external site. or Font SquirrelLinks to an external site. have numerous choices on fonts you can use.
- The text does not need to be entirely readable. It can be partially obscured by the imagery.
- 8. Roughs:
-
- Create a canvas in Photoshop that is 6"x10", at 300 dpi - CMYK
- Rework your Thumbnail sketches into Roughs on the computer.
- This may include
- placed images for all graphics
- appropriate colors assigned to the design
- It is up to the designer to make the images appear as one fluid image.
- Principles of composition should be followed. Example, create a focal point using lines, contrast, or color to direct the viewer's eye.
- It is important that the images represent your idea and that they maintain their pictorial clarity, so viewers can understand or interpret the message being expressed.
- It is required that you have a minimum of 3 (and up to 5) computer roughs in total. All roughs need to be included in the PB. You can place screen captures or PDFs into the Process Book document.
Prepare for CRITIQUE
-
- Choose 3 of your most promising Roughs and have these 3 images ready to share Online with your peers in the Critique Discussion Board
SUBMISSION
- Name your Process Book Document: YourLastName-Proj2-PB
- Save as a PDF (Ex. YourLastName-Proj2-PB.PDF)
- Submit the PB PDF here in Canvas
student-1
student-2
student-3 |